![]() One management tool for all smartphones to transfer files between PC & iOS/Android devices.
One management tool for all smartphones to transfer files between PC & iOS/Android devices.
We may own 16GB, 32GB, 64 GB or 128GB iPhone, but how to free up space on iPhone is a hot topic forever. Especially, there is a lot of us are still stuck with 16 GB iPhones. To help us out, Apple keeps adding space saving features in iOS updates. iOS 18 improves a lot in saving more space for old iOS users though it's not enough to satisfy us. But we can still find some ways to clear space on iPhone in iOS 18.
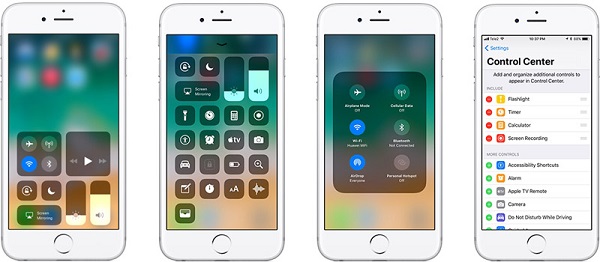
In iOS 18, these range from new compression standard to new features. iOS 18 uses HEIF format for photos and HEVC for videos. They both offer 50% space saving at the same quality. Plus, iOS 18 has an entire section for personalized storage management recommendations. If your iPhone is running low on storage space, take the following solutions to free up some space on your iPhone in iOS 18.
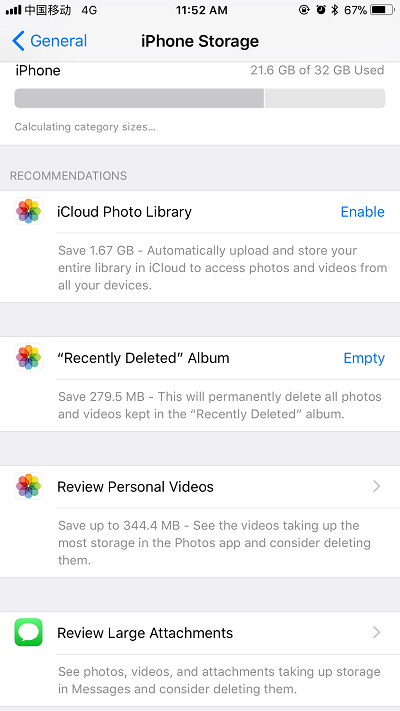
Step 1. New storage recommendation section under iPhone Storage management can give you advice on how to clear space.
Step 2. Go to Settings > General > iPhone Storage, some recommendations here for you. You can tap on show all to get all suggestions.
Step 3. You can enable iCloud Photo Library, empty Recently Deleted photos, see the videos taking up the most storage in Photos app and consider deleting them in Review Personal Videos section, or see photos, videos, and attachments taking up storage in Messages and consider removing them in Review Large Attachments section.
Step 4. Except for recommendation section. You can check the apps taking a lot of storage space and consider to remove the unnecessary apps.
Step 1. Delete some photos you don’t need. We always forget to delete photos that weren’t so great. You should take some time to check the camera roll and delete all photos you don’t need. That’s may save you a lot of space.
Step 2. Use iCloud Photo Library. Backup photo library and remove old photos from your device can be a reliable way to clear space. The feature can be enabled from Settings > Photos. But if you have more than 5 GB worth of photos, you’ll need to upgrade your iCloud plan to 50 GB/month by paying $0.99/month. Once your photos are uploaded to iCloud, you can ask iCloud Photo Library to only keep the latest photos on your device. From the Photos section, tap on Optimize iPhone Storage.
Step 3. Use Google Photos. If you don’t want to pay for iCloud storage, you can save unlimited photos for free to Google Photos (although they’re compressed). After uploading photos to Google Photos, you can ask the app to automatically delete those from your local storage.
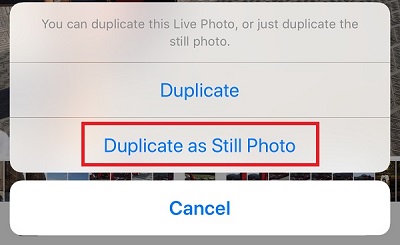
Step 4. Remove live part of live photos. Live photos are awesome and sometimes they just make you smile. But for most photos, it’s not really useful and it takes up space. Just open your live photo in photos, tap on share button, then duplicate and then choose duplicate as still image. Then just delete the original live photo. Also, backing up live photos to computer before deleting to keep these wonderful moments is another way to spare space for your iPhone.
Step 5. And you can also turn off live photo function when you don’t need. When you launch the camera app, find the Live Photo icon, which is made up of three concentric circles at the top of your screen. If the icon is yellow (or gold), Live Photos is currently turned on. To turn it off, simply tap on the icon.

Step 6. Delete recently deleted photos. Remember to delete photos from the Recently Deleted Album after deleting photos. Then you can actually get the storage space back. From the Photos app, tap on the Albums tab and select Recently Deleted. Select all photos and tap on Delete.
Step 1. When you’re in the iPhone Storage section, you’ll see which app is taking up how much storage. For some apps, it will be the document storage that’s taking up the more space. If you’ve downloaded songs or videos, it’s just sitting there on your device.
Step 2. Go into those apps and manually delete the downloaded files according to your need. If the apps like Twitter or Facebook are taking up document storage space of 1 GB or higher, there’s no way to get rid of that other than deleting those apps and reinstalling them.
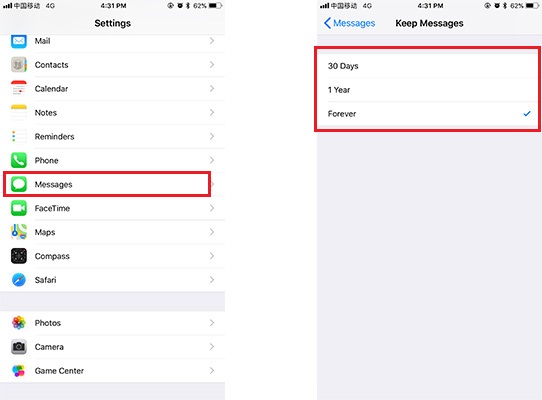
Step 1. Automatically delete old messages. If message conversations are not so important for you, you can automatically delete old messages. Go to Settings > Messages > Keep Messages and select 30 days or 1 Year.
Step 2. Delete attachment from messages. Go to the Messages app, tap on Edit and start deleting old message threads that have a lot of media. Alternatively, you can go into a conversation, tap on the top image and see all the attachments for the conversation right there. Select a photo/video and tap on the Delete button to get rid of it.
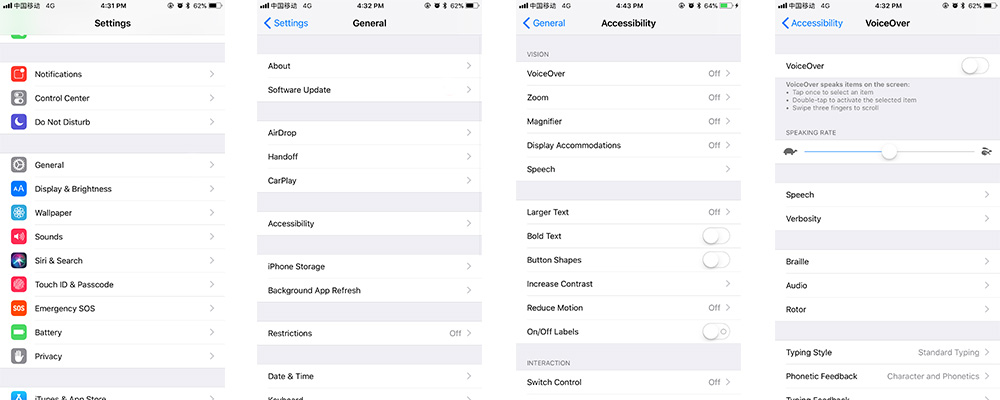
Get rid of extra Siri voices may save a lot of space. Go to Settings > General > Accessibility > VoiceOver > Speech and select the language. Then tap on Edit, swipe on the language and select Remove.
WhatsApp will download all media and will save it to Camera Roll. Thus it takes up a big part of your iPhone space. Go to Settings > Chats and turn off Save Incoming Media to stop this.
If you just can’t figure out how to reclaim the space and you really need to clear them, the last resort is to reset your device. Go to Settings > General > Reset and select Erase All Content and Settings. But the priority before resetting device is to backup all data in a proper way.
Step 1. Download and install iOS Data Transfer tool on computer, and then connect iOS device to computer via USB cable.
Download
Win Version
Download
Mac Version
Step 2. Four sections can be displayed: Phone to Phone Transfer, Backup to PC and Restore from PC, Restore Phone from iCloud and Restore from iTunes. Go to click on Backup to PC.
Step 3. The data of your iOS device will be loaded after a while, and keep connecting while data loading. The data will be listed on the middle box after data loading.
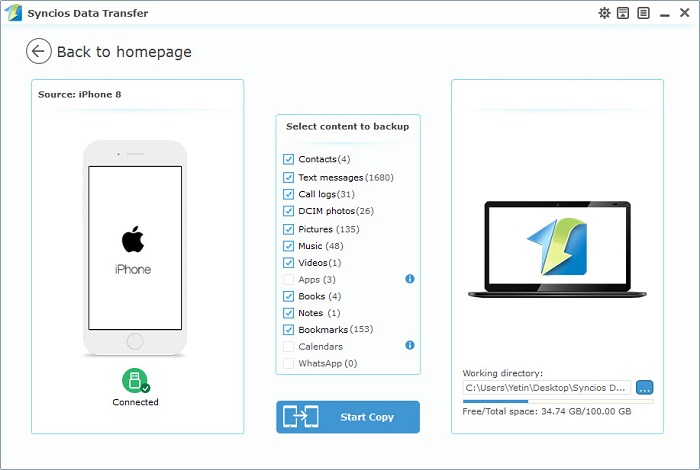
Step 4. Select the data you need to backup and click on Start Copy. Wait with patience, all data will be backed up to computer. Note that the backup file should not be moved to any other location in order that the program can detect the backup file again. If you’ve moved the backup file, just move back to the original location.
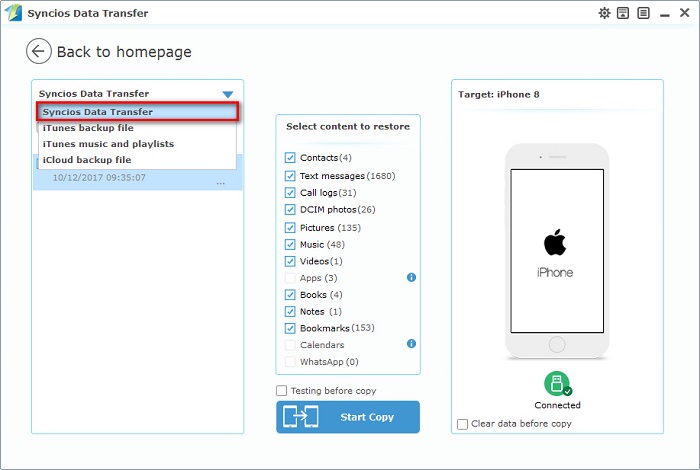
Step 5. The data can be restored after resetting iOS device. Open iOS Data Transfer tool and choose Restore from PC on the homepage. Then the previous backup file can be detected automatically. Connect iOS device to computer. Choose items after the previous backup file loading and click on Start Copy to restore data from computer to iOS device.
In addition, another reliable way to backup and restore iOS device before resetting should be introduced. Simply download and install Free iOS Manager on computer from below.
Download
Win Version
Download
Mac Version
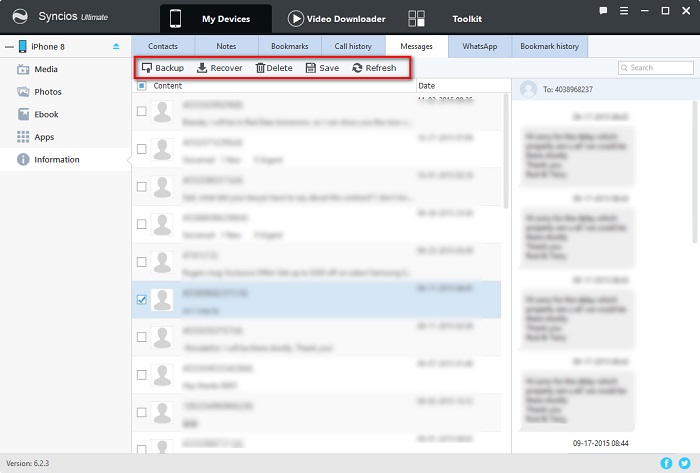
Step 1. Connect iOS device to computer and launch iOS Manager. Five contents, Media ( including music and videos ), Photos, Ebook, Apps, Information ( including contacts, notes, bookmarks, call histories, messages, WhatsApp, Bookmark histories ), listed on the sidebar. And choose items click on Export or Backup to save data to computer. And then restore the backup file via clicking on Import or Recover.
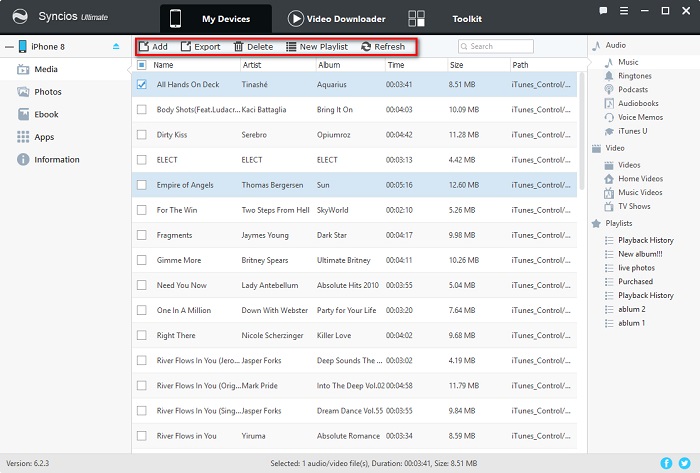
Step 2. The advantage of iOS Manager is that the clear preview helps you to choose which one to backup conveniently. You can choose items individually according to the clear preview. And also you are allowed to edit, delete items of iOS 18 device directly via iOS Manager. Learn more about the detailed functions and operations here. You'll find a detailed tutorial on how to manage iPhone data.
